//A.I INSPIRE

// FORMA DIVE L01
What is Forma?
Forma is an Autodesk cloud-based software able to give weather, environmental, and simple area analysis on a project that is in the preliminary design phase, where detailed context and accurate terrain are not strictly required.
It can give a preliminary understanding of property/ defined plots available via open-source data in the United States.
However, the availability of property information and updated maps in areas such as China and the Middle East are limited and subject to currently updated open maps data.
We may think of model building in Forma as a further strip down of sketch-up. The cloud-based app does not offer any advanced model building tools beyond box or line-based massing option which makes it crude at best. But the point of the option at this stage is to get a “general feel” so perhaps it need not be so complicated.
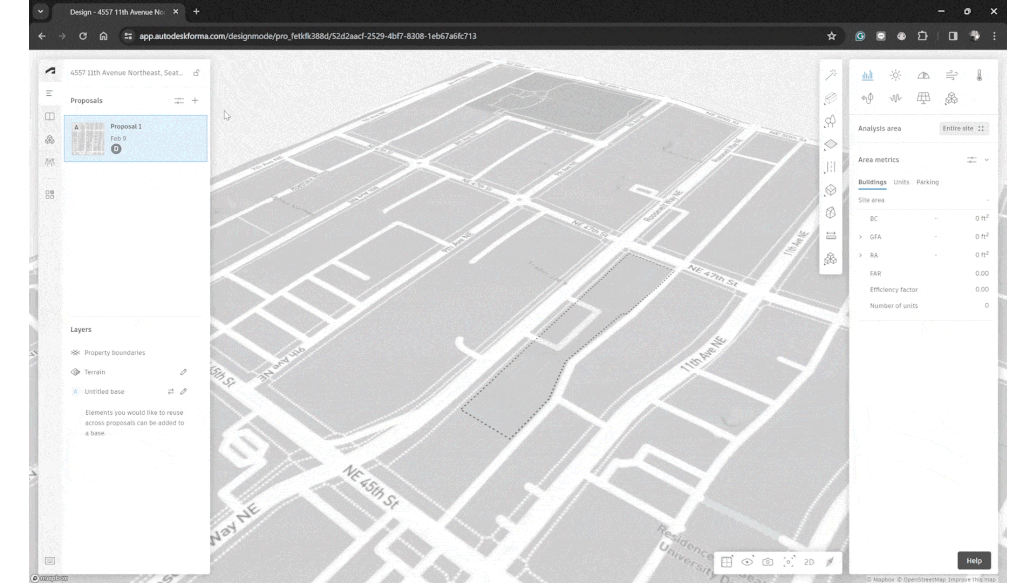
STEP 1: CREATE SITE
1. Confirm Location:
Enter an address directly, or
Browse the interactive map to pinpoint your desired location.
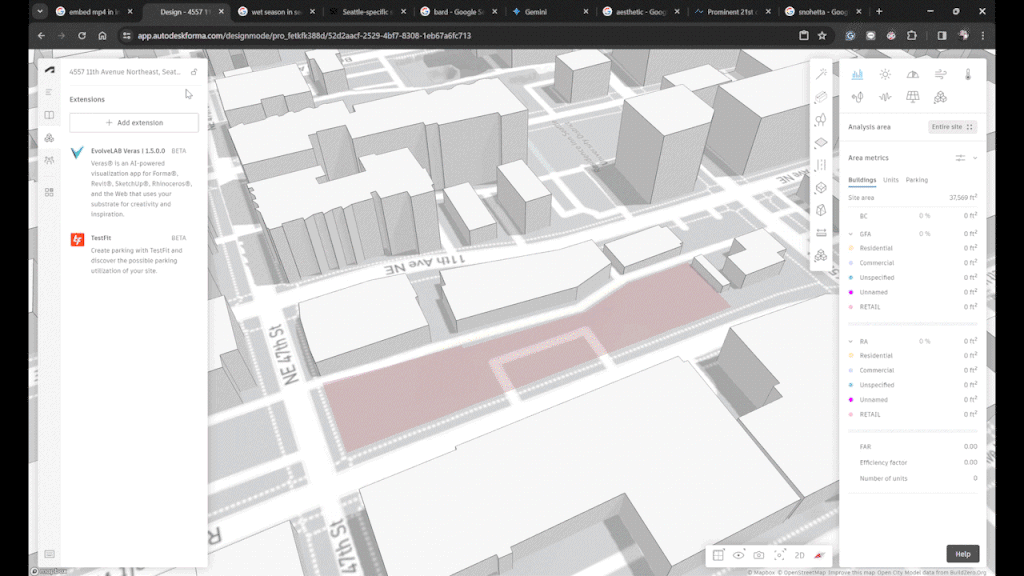
2. Map It Out:
Choose the terrain and map data that best suits your project needs.
Remember, this data is crucial for accurate planning and development.
3. Building Blocks:
Take advantage of pre-existing building data in simple massing form.
This is a great starting point for understanding the context and scale of your project.
STEP 2: SET SITE LIMITS
1. Choose Your Home Base:
Select your project site directly from the available property data (convenient!). OR
Define the property limits.
2. Reach for the Sky (Sort of):
Set the height limit for your site. This acts as a reference point, not a hard restriction, so get creative!
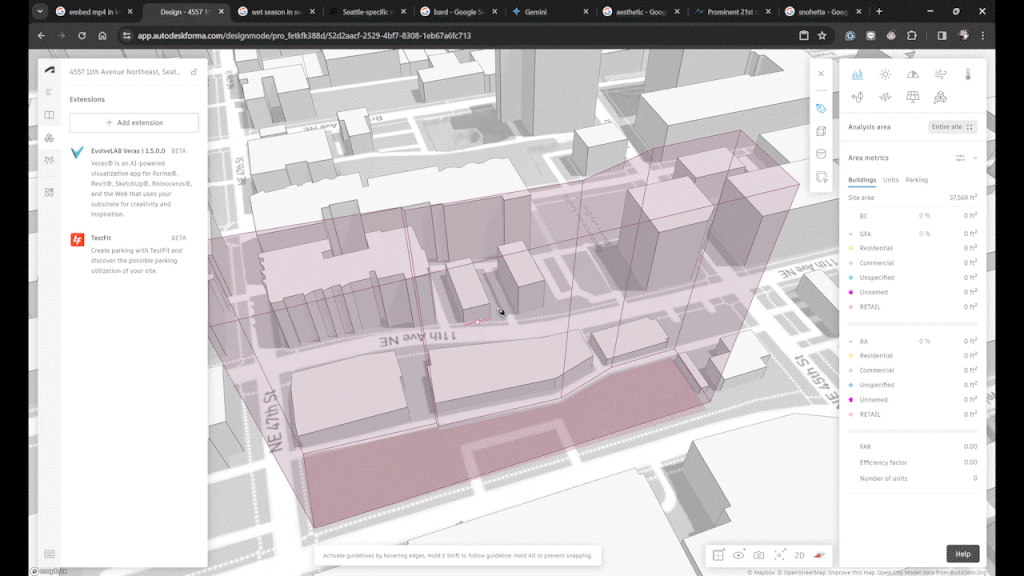
STEP 3: FORM BUILD
Building Blocks with Benefits:
Simplified Tools: Think of the controls as a scaled-down version of SketchUp, focused on crafting basic block shapes. While it may seem limited, this approach offers two key advantages:
Instant Floor Placement: Effortlessly define floor levels as you build, saving time and streamlining your workflow.
Real-Time Area Data: Get instant insights into your design's space utilization, helping you make informed decisions on the fly.
Integrate with Revit:
If you're already working with a Revit model, you can seamlessly link it to this platform. However, please keep in mind that some features might have limitations during this linked stage.
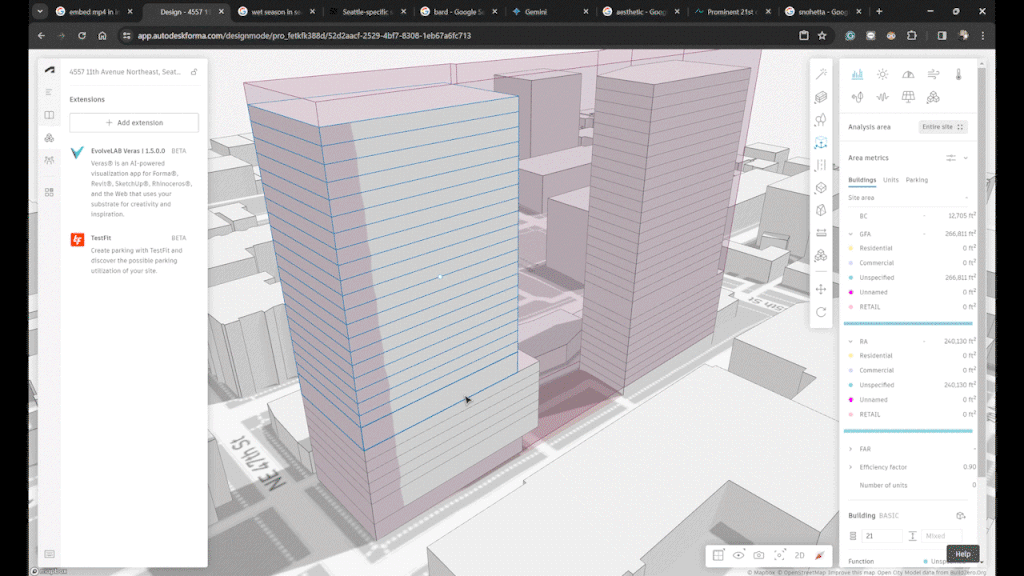
STEP 4: FUNCTIONS
1. Select a Building Block:
Choose the area you want to define on your building form.
2. Pick a Program:
Choose from pre-defined options like Commercial, Residential, or Undefined. You can even create your own custom program to perfectly suit your needs.
3. Draw the Floor Plan (Optional)
Use the floor plan tool in the right sidebar to map out the interior layout within your selected area.
4. Parking
Planning underground parking? Mark specific floors as parking garages directly from the right sidebar.